Introduction to FreeRTOS and the ESP32
FreeRTOS is a prominent open-source real-time operating system (RTOS) specifically designed for microcontrollers and small embedded systems. Its popularity arises from its lightweight nature and efficient multitasking capabilities, making it an ideal choice for developers and hobbyists engaged in electronics projects. FreeRTOS provides a framework that allows developers to execute multiple tasks concurrently, which is particularly beneficial for embedded systems where managing different operations is crucial.
On the other hand, the ESP32 microcontroller stands out due to its powerful features, including built-in Wi-Fi and Bluetooth capabilities, dual-core architecture, and a variety of I/O options. This versatility empowers hobbyists to create sophisticated projects that can seamlessly integrate wireless communication. By deploying FreeRTOS on the ESP32, developers can leverage enhanced task management features such as task prioritization, inter-task communication, and efficient memory management.
One of the main advantages of using FreeRTOS with the ESP32 is the ability to manage multiple tasks efficiently. In many hobby electronics projects, tasks can often be time-sensitive and require real-time processing. FreeRTOS is designed to handle such requirements, ensuring timely execution of high-priority tasks while allowing lower-priority tasks to run according to their scheduling needs. This is essential for applications like data acquisition, sensor monitoring, and event handling.
Furthermore, utilizing FreeRTOS allows developers to optimize memory usage within their projects. This capability is particularly important when working with resource-constrained environments typical of hobby electronics. By managing memory effectively, hobbyists can create more robust applications capable of running smoothly without running into resource limitations.
Setting Up the Development Environment
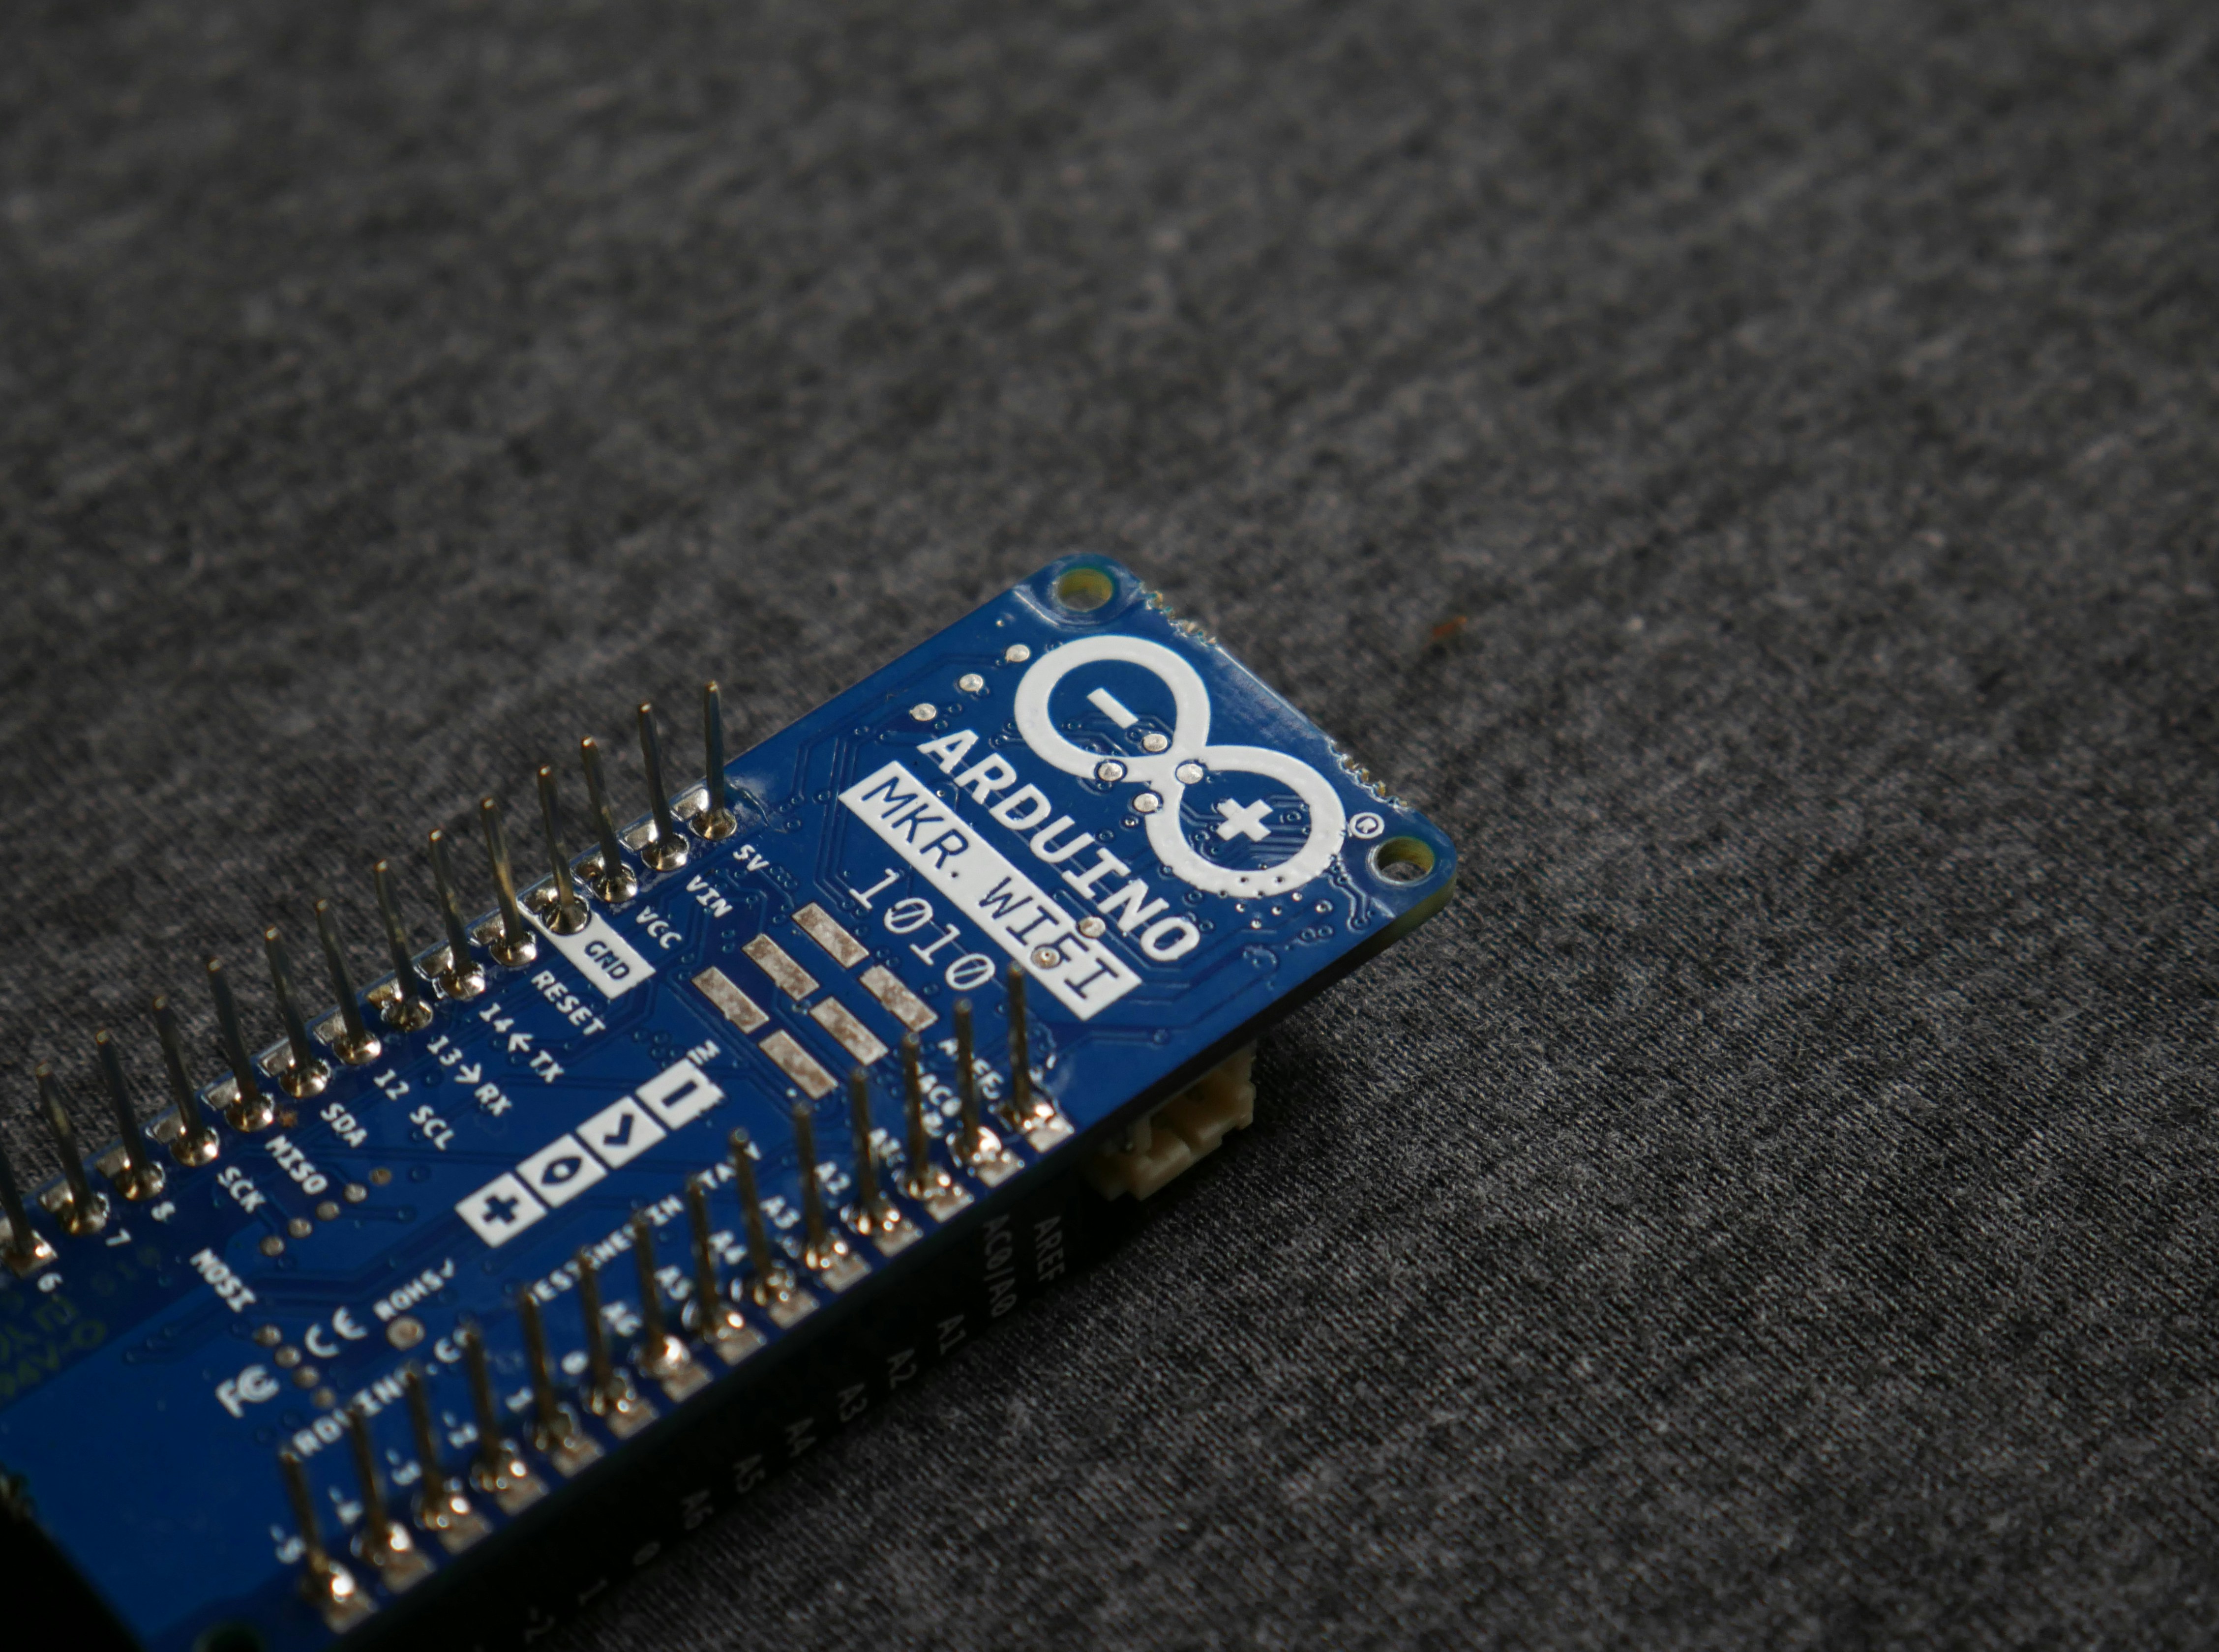
To embark on your journey of programming the ESP32 with FreeRTOS, the first step is to establish a reliable development environment. This environment primarily consists of the Arduino IDE alongside the necessary ESP32 board configurations and libraries. Here’s a comprehensive guide to assist hobbyists in setting up these tools effectively.
Start by downloading and installing the latest version of the Arduino IDE from the official Arduino website. This integrated development environment (IDE) is highly recommended due to its user-friendly interface and extensive community support. Once the IDE is installed, you will need to configure it to recognize the ESP32 development board. This can be accomplished by navigating to the “File” menu, selecting “Preferences,” and then adding the ESP32 board URL into the “Additional Board Manager URLs” field. The URL commonly used is https://dl.espressif.com/dl/package_esp32_index.json.
Next, you should proceed to install the ESP32 board definitions. Go to the “Tools” menu, select “Board,” and then click on “Boards Manager.” In the search bar, enter “ESP32” and locate the package by Espressif Systems. Click on “Install” to add the ESP32 boards to your IDE.
Along with the ESP32 board definitions, you may also require additional libraries for specific functionalities, such as Wi-Fi or Bluetooth operations. These can be added through the Library Manager, also found in the “Sketch” menu under “Include Library” and then “Manage Libraries.” A simple search will reveal various libraries to facilitate your projects.
In summary, setting up the Arduino IDE with the ESP32 configurations and libraries is an essential first step. By following these guidelines, hobbyists can ensure optimized coding and testing processes in their upcoming FreeRTOS projects.
Understanding Mutex in FreeRTOS
A mutex, short for mutual exclusion, is a synchronization mechanism that is crucial for managing access to shared resources in concurrent programming environments such as FreeRTOS. This mechanism controls how multiple tasks interact with these resources, ensuring that only one task can access the critical section of code at any given time. The primary purpose of a mutex is to prevent race conditions, which occur when two or more tasks attempt to modify shared data simultaneously, leading to unpredictable outcomes.
In FreeRTOS, a mutex is implemented as a handle, which is utilized by tasks to request access to a shared resource. When a task locks a mutex, it effectively shields the critical section from concurrent access by other tasks. If another task tries to lock the same mutex, it is either blocked until the mutex is released or given control immediately, depending on the mutex’s configuration (e.g., recursive or normal mutex). This mechanism is essential in preventing data corruption and maintaining the integrity of shared resources.
For hobby electronic projects, the application of mutex is readily observable, particularly in scenarios where tasks perform I/O operations, such as reading sensor data or controlling actuators. For example, consider a project where one task is responsible for reading temperature sensor values while another task handles displaying these values on a screen. Without proper synchronization using a mutex, there is a risk that the display could present outdated or incorrect information, as both tasks might try to access the data simultaneously. In such cases, incorporating a mutex facilitates orderly task management, thereby improving the reliability of the system.
Creating a Project with ESP32, FreeRTOS, and Mutex
To create a project that utilizes FreeRTOS and mutex in the ESP32 environment, begin by ensuring you have the required development environment set up. You’ll need to install the ESP-IDF and configure the necessary libraries that support FreeRTOS. Once you have your IDE ready, you can start a new project from the template provided within the ESP-IDF framework.
The first step involves including the FreeRTOS headers in your main file. Begin with your main.c file and include the following libraries:
#include #include #include Next, initialize a mutex for your project. Below is an example of how to create a mutex:
xSemaphoreHandle mutex = xSemaphoreCreateMutex();Once the mutex is created, you can proceed to create tasks. Each task should have its own unique function. Here’s a basic example:
void yourTask(void *pvParameters) { while (1) { if (xSemaphoreTake(mutex, portMAX_DELAY) == pdTRUE) { // Critical section of code xSemaphoreGive(mutex); } vTaskDelay(100 / portTICK_PERIOD_MS); }}To create tasks, utilize the xTaskCreate function. For example, you can add the following code to initialize tasks in your app_main() function:
xTaskCreate(yourTask, "TaskName", 2048, NULL, 1, NULL);After setting up your tasks and the mutex, compile your project using the command line or the IDE. Once compiled successfully, upload it to your ESP32 development board. It’s vital to test the outputs properly, ensuring that the shared resources are efficiently managed without race conditions.