- Ever Tried Making a Web Control Panel for Your ESP Project? It Wasn’t Fun.
- How Easy Is It? Super Easy—Copy, Paste, Test
- All the Controls You Need for DIY Projects
- Easy Upgrades to Make Your UI Look Polished
- Who Should Use ESPUI? (And Who Doesn’t Need It)
- Final Thought: Stop Fighting HTML, Start Building
- Quick Recap
Ever Tried Making a Web Control Panel for Your ESP Project? It Wasn’t Fun.
Let’s be real: you just want to toggle a relay, adjust LED brightness, or view sensor data from your phone or laptop. You don’t want to spend hours wrestling with HTML, CSS, and JavaScript—half the time, the code breaks, the layout looks terrible on mobile, and you end up frustrated instead of building cool stuff.
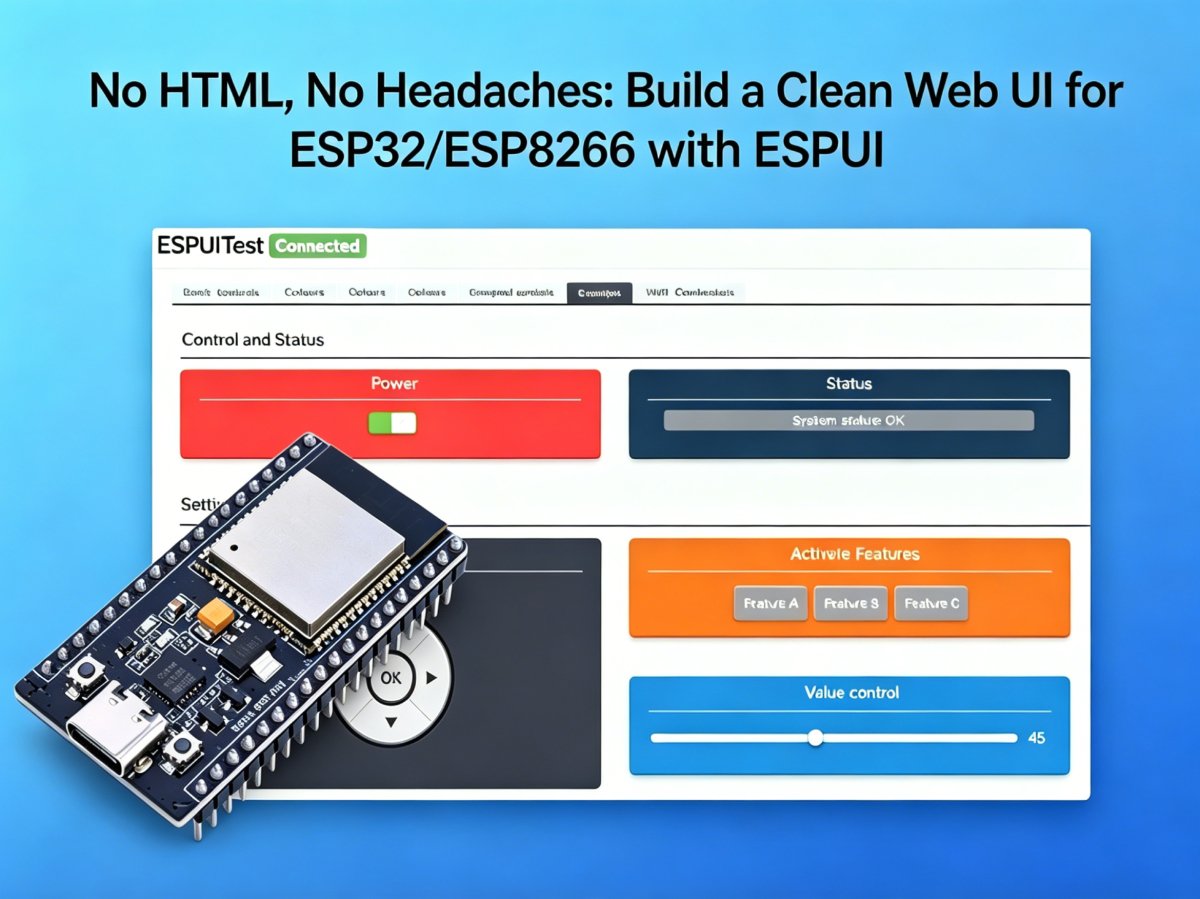
If that sounds familiar, meet ESPUI: the Arduino library that turns your messy web UI dreams into simple, readable C++ code. No front-end experience required. No messy web files. Just write Arduino-style code, and get a responsive, real-time web panel that works everywhere.
The best part? It uses WebSockets, so every tap, slide, and update happens instantly—no page refreshes, no lag. Your ESP reacts right away, and your web page updates automatically when your board’s data changes. It’s smooth, simple, and built for makers like you.
How Easy Is It? Super Easy—Copy, Paste, Test
You don’t need a complicated setup. This minimal example gives you a working button in under a minute. Just plug in and upload the code, input your Wi-Fi credentials (or run as a hotspot).
#include <Arduino.h>
#include <ESPUI.h>
#include <WiFi.h>

// Create a Wi-Fi hotspot (no home network needed)
const char* AP_SSID = "ESP-Controller";
const char* AP_PASS = "12345678";

// Button callback: runs when you click/press the button
void buttonCallback(Control* sender, int type) {
  if (type == B_DOWN) {
    Serial.println("Button pressed!");
  } else if (type == B_UP) {
    Serial.println("Button released!");
  }
}

void setup() {
  Serial.begin(115200);

  // Start ESP as a Wi-Fi access point
  WiFi.softAP(AP_SSID, AP_PASS);
  Serial.print("Connect to Wi-Fi: ");
  Serial.println(AP_SSID);
  Serial.print("Visit in browser: http://192.168.4.1");

  // Launch the web UI with a custom title
  ESPUI.begin("My ESP Control Panel");

  // Add a button—ONE LINE to create a working UI control
  ESPUI.button("Click Me", buttonCallback);
}

void loop() {
  // NOTHING HERE. ESPUI handles everything in the background.
}Code language: PHP (php)
Quick Test Steps:
1. Upload the code to your ESP32/ESP8266
2. Connect your phone to the “ESP-Controller” Wi-Fi
3. Open your browser and go to 192.168.4.1
4. Tap the button—check the Serial Monitor for feedback!
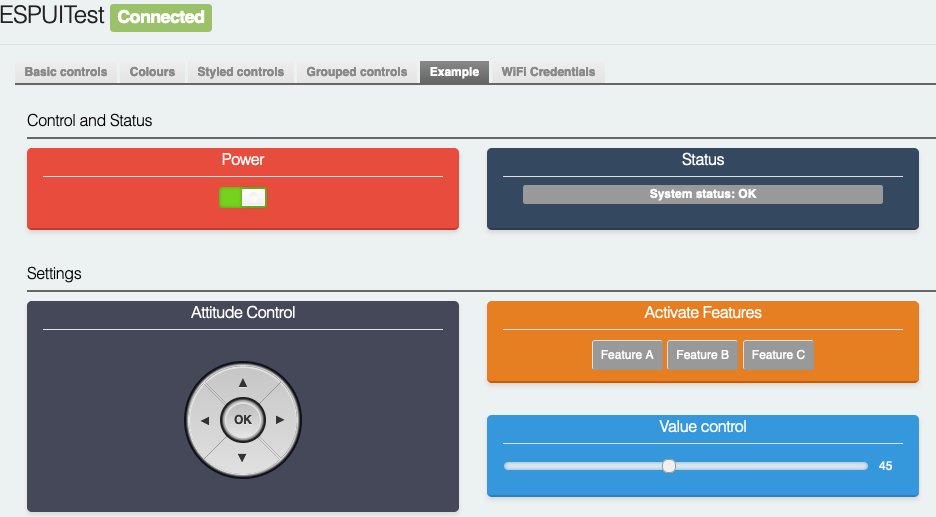
All the Controls You Need for DIY Projects
ESPUI comes with every widget you’d actually use for your prototypes. No fancy jargon—just plain English descriptions for real-world projects:
| Control Type | What It Does (For Makers) |
| Label | Live display for sensor data, status messages, or readings—update it with one line of code |
| Button | Basic trigger for relays, LEDs, or actions; detects press/release separately |
| Switch | Toggle on/off like a light switch; syncs across all connected devices |
| Slider | Adjust values smoothly (brightness, speed, temperature)—perfect for dimmers or fans |
| Number/Text Input | Type exact values (timer minutes, Wi-Fi passwords, custom settings) |
| Pad | D-pad style control for robots, servos, or motor drivers |
| Select Dropdown | Pick from preset modes (e.g., Auto/Manual, Night/Day) |
| Graph | Plot live sensor data (temperature, humidity, voltage) in a clean chart |
Mix and match these controls like Lego bricks—build a simple panel or a full-featured dashboard without the stress.
Easy Upgrades to Make Your UI Look Polished
Once you have the basics working, these small tweaks make your project feel professional—no heavy coding required:
- Tabbed Pages: Split controls into tabs (e.g., “Controls” + “Settings”) to avoid clutter
- Show/Hide Controls: Hide advanced settings until you need them using ESPUI.updateVisibility()
- Custom Colors & Styles: Change colors, add rounded corners, or set gradients with simple CSS snippets
- Group Controls: Bundle related buttons/sliders into sections for a cleaner layout
Who Should Use ESPUI? (And Who Doesn’t Need It)
✅ Perfect For:
- Makers & DIY hobbyists who hate front-end web dev
- Quick prototypes and proof-of-concept projects
- Local control (no cloud, no internet required)
- Projects where you just need a simple, reliable web panel
❌ Not For:
- Commercial-grade apps with super complex designs
- Projects that need advanced web features
Final Thought: Stop Fighting HTML, Start Building
ESPUI isn’t about making fancy websites—it’s about
saving you time
. You get a responsive, real-time web interface for your ESP32 or ESP8266 without writing a single line of HTML, CSS, or JavaScript. Installation is painless: search for
ESPUI
in the Arduino Library Manager or PlatformIO, install the library, and use the built-in examples to start fast. Ditch the web dev headaches. Focus on the part you love: building cool electronics projects.
Quick Recap
- No HTML/JS/CSS needed: Write pure Arduino C++
- Real-time WebSockets: Instant updates, no lag
- Plug-and-play controls: Buttons, sliders, graphs, and more
- Mobile-friendly: Works on phones, tablets, and laptops
- 100% free & open-source
- Ever Tried Making a Web Control Panel for Your ESP Project? It Wasn’t Fun.
- How Easy Is It? Super Easy—Copy, Paste, Test
- All the Controls You Need for DIY Projects
- Easy Upgrades to Make Your UI Look Polished
- Who Should Use ESPUI? (And Who Doesn’t Need It)
- Final Thought: Stop Fighting HTML, Start Building
- Quick Recap